
Your dog does not need a mansion, but they do need a smart shelter that actually works when the sun gets brutal.
Summer heat sneaks up fast, and while your dog might love sunbathing on the patio, that panting says otherwise. A patch of grass and a water bowl do not cut it when the temperature climbs. What they really need is a shady escape that stays cool even during the hottest stretch of the day. Not just a plastic shell baking in the sun. Something functional. Something breathable. Something you can actually build without having to hire three professionals and sell your weekend to do it.
This is not about making it pretty. It is about keeping your dog safe and comfortable while still being realistic about your time and tools. You do not need advanced skills to pull this off, but you do need to plan smart and skip the shortcuts that turn into regrets later. These steps are easy but they are not useless. They are the difference between overheated and chill.
1. Skip the yard guesswork and measure exactly where the shade falls.
Guessing where the sun hits in your yard is how people end up with a dog house that feels like an oven by noon. Your first move should not be cutting wood or checking Pinterest. It should be grabbing a chair, sitting outside, and watching where the sunlight actually shifts across your space. Track it throughout the day if you can. You might be surprised at how much that morning shade disappears by lunchtime.
You are not just trying to find any shade. You are looking for the spot that stays cool the longest without trapping humidity or being too exposed, according to Daily Paws. Look for areas that are partially protected by trees or walls but still have decent airflow. You want a balance. Too enclosed and it becomes a sweatbox. Too open and the dog never actually uses it. Planning around light and shadow makes every other step worth doing. Skipping it is how frustration begins.
2. Level ground is not a luxury, it is the foundation for everything.
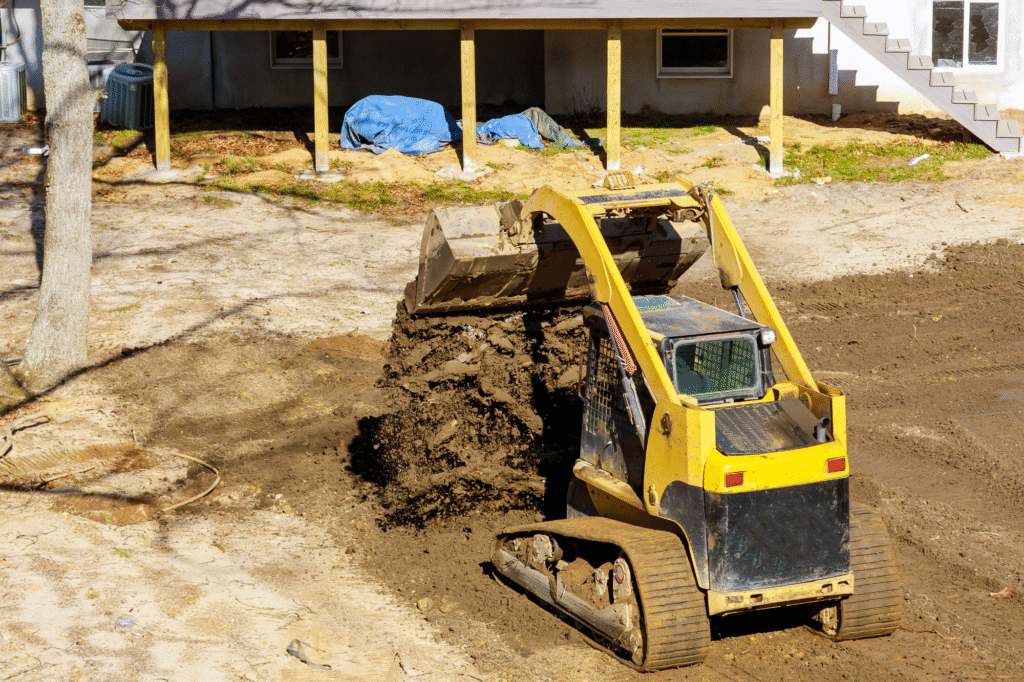
Dogs do not care if their house looks cute, but they will absolutely notice if it tilts or wobbles when they step inside, as reported by VetMed. A flat, solid base keeps the structure from shifting over time, especially when it rains or if your dog tends to jump in with force. Even a small lean can lead to faster wear on one side or let water seep in at an angle you did not expect.
Pick a space and clear it of roots, loose soil, or buried debris. Then tamp it down until it feels compact and stable. If you skip this step or do it halfway, every piece of the build becomes more difficult. Floors will not align. Walls will not sit flush. You will spend more time correcting avoidable problems than actually building. It is not the flashiest part of the process, but getting the ground right makes everything feel more solid and last a lot longer.
3. Treated plywood is your new best friend in summer weather.
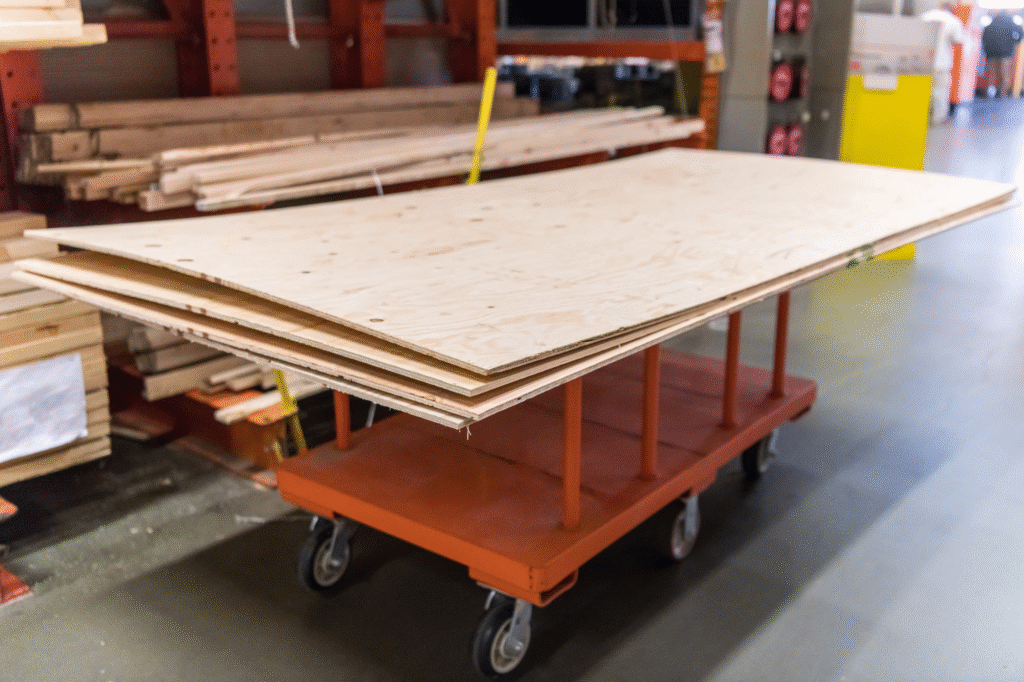
There is no need to spend a fortune on fancy lumber, but what you use needs to hold up against heat, moisture, and dog wear. Treated plywood is affordable, durable, and easier to work with than most people expect, as stated by HGTV. It resists rot and mold better than untreated wood, which is exactly what you want in a space that deals with both slobber and sprinklers.
You do not need to overcomplicate the design. A few sheets cut to size will cover most small to medium dog houses. Make sure to leave space for airflow and consider a raised floor design that lets air circulate underneath. Dogs are always closer to the ground than we are, and heat builds fast in poorly ventilated spaces. Good materials do not make up for bad design, but bad materials can ruin a good one. Use what lasts, not what looks trendy on your neighbor’s patio.
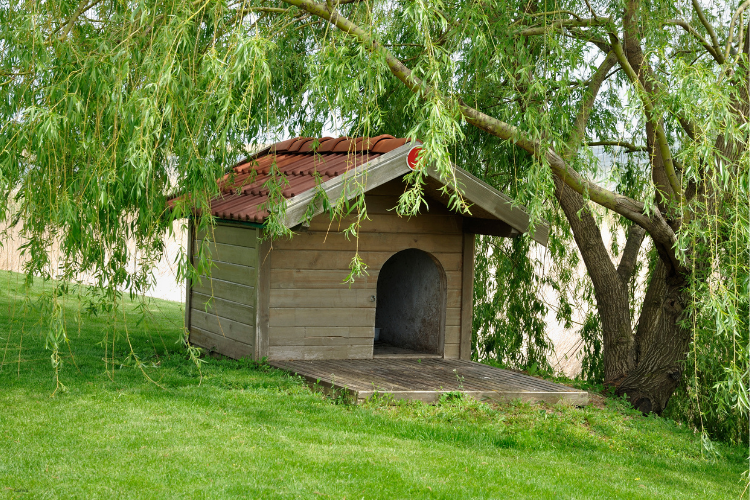
4. A slanted roof keeps your shade house from becoming a rain trap.
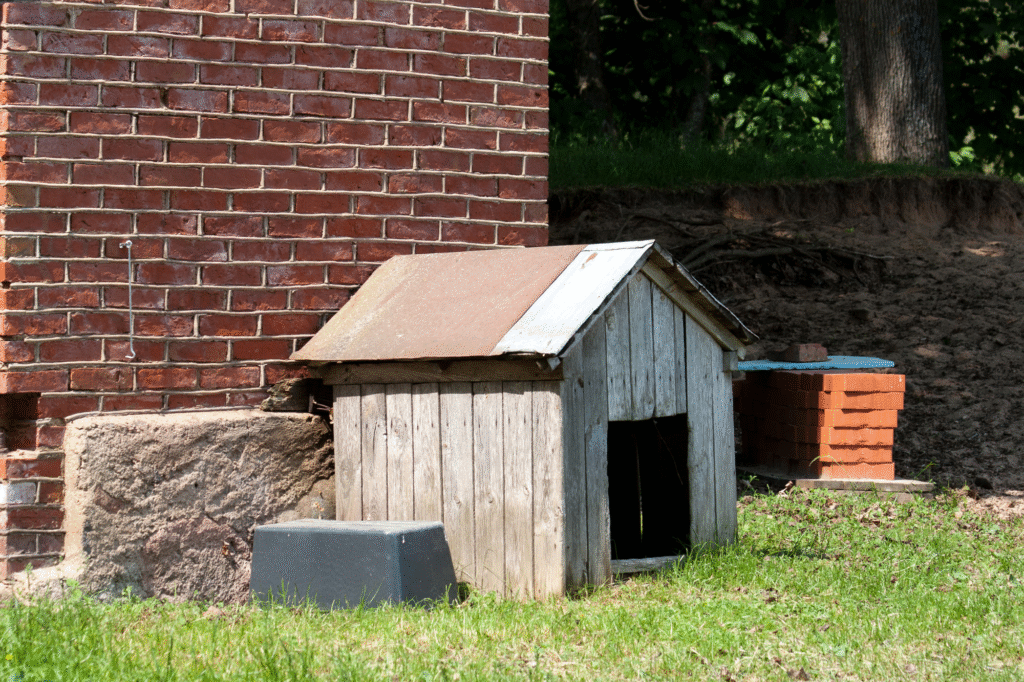
Flat roofs might seem easier when you are sketching things out, but in practice they are a mess. Water pools. Debris sticks. Sunlight bakes the top and turns it into a giant heat collector. A slightly slanted roof lets rain roll off while also helping airflow inside stay cooler. You are not building a cabin, according to Pet Mate. You are building a structure that breathes.
Angle the roof just enough for runoff, usually by making the back wall an inch or two shorter than the front. Use lightweight roofing panels, tin, or even more plywood as long as it is sealed and covered properly. Avoid dark colored shingles unless you want the top to act like a frying pan. A light coating of waterproof paint or a basic roof overhang can make a huge difference without requiring extra tools. The less moisture sits on the roof, the fewer problems show up later.
5. Use a raised platform so the floor stays cooler and dryer.
Putting a dog house directly on the ground is a shortcut that costs more in comfort than materials. Ground contact traps heat, absorbs rain, and invites bugs. Even a few inches of elevation can help airflow underneath and keep the interior from feeling like a soggy crawlspace. Dogs love a cool surface, but they do not love mildew or damp fur.
You can create a platform with cinder blocks, scrap lumber, or a basic frame of two by fours. Make sure it is level and strong enough to handle weight and movement without flexing too much. That space beneath helps manage temperature swings and gives your dog a break from hard dirt or hot pavement. It also keeps the house usable longer during weather changes, since the base stays dry even when the ground is wet. That one small lift can turn a temporary shelter into a lasting retreat.
6. Ventilation is not optional when you are fighting summer heat.
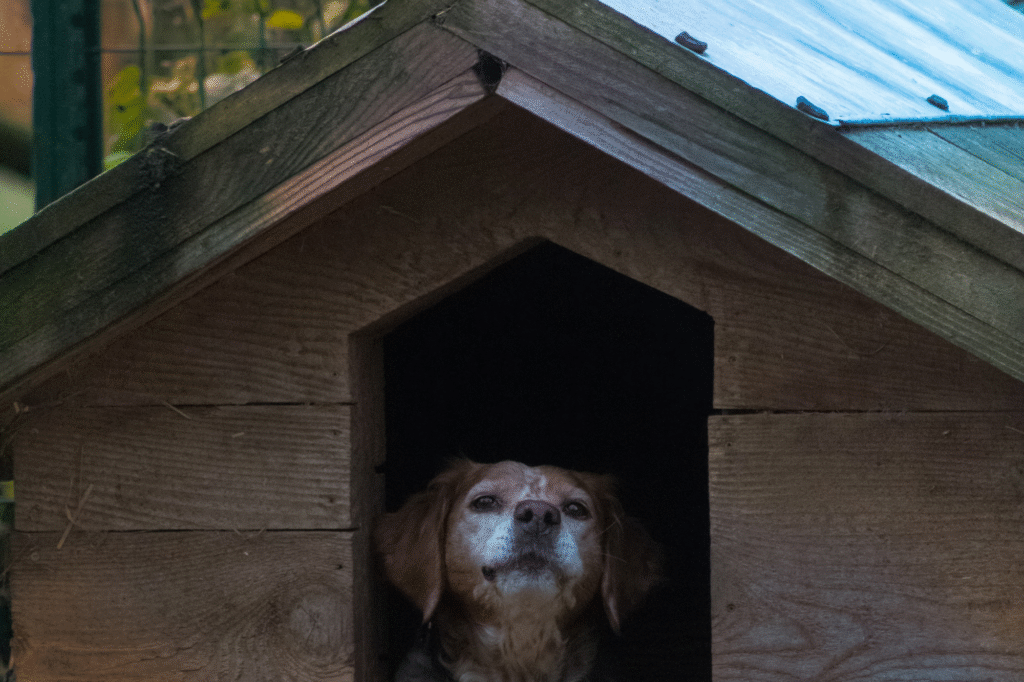
You would not sit in a tiny wooden box with no airflow and expect to feel refreshed. Your dog should not have to either. Heat builds fast in closed spaces, especially when there is no cross breeze. A good dog house needs ventilation, and no, the door is not enough. You need openings high on the walls, near the roof, or even along the sides to let hot air escape and keep fresh air moving in.
This does not require a fancy fan or power tools you do not own. Simple cutouts near the top—covered with wire mesh to keep out insects or rodents—do the trick. Just make sure they are positioned so air can flow across the space without letting in direct sunlight. Some people use adjustable vents or small screened windows. Others just leave a gap under the eaves. What matters most is that air moves in and out without turning the space into a sauna.
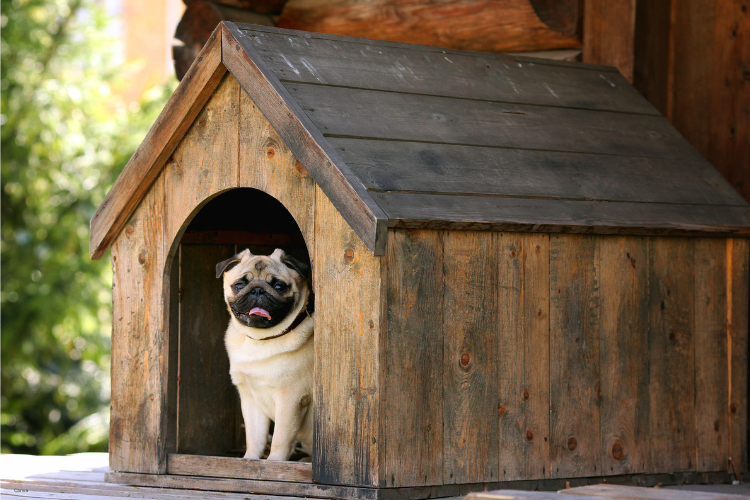
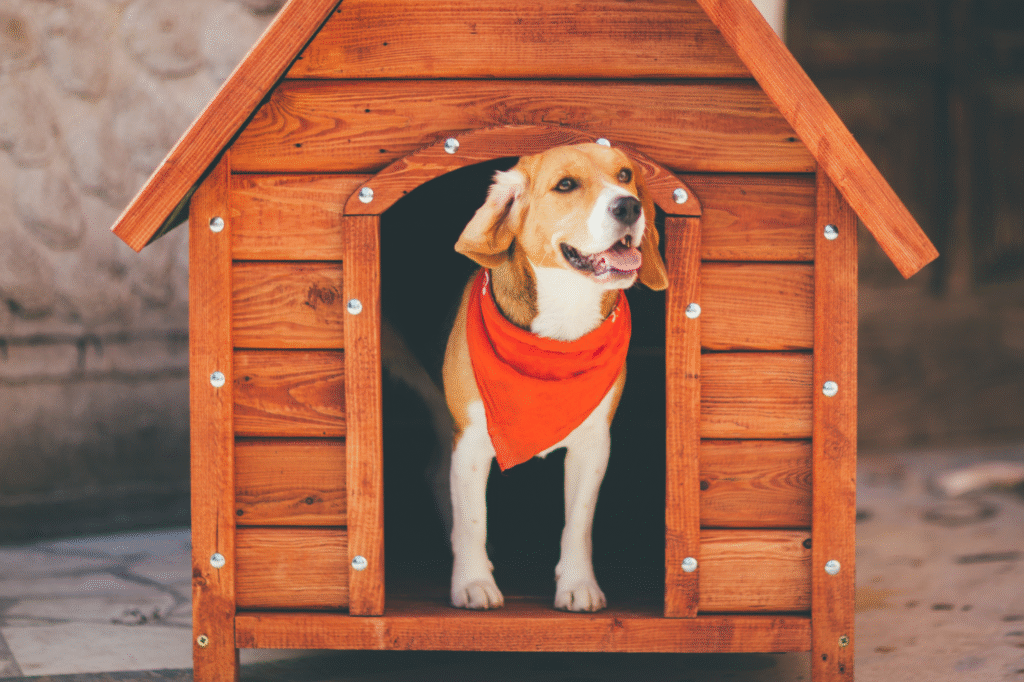
7. An offset door helps your dog stay cooler without losing visibility.
If the entrance to the dog house is centered right in the front wall, it allows heat and light to beam straight in all day. That might look nice and symmetrical, but it is not doing your dog any favors. Shifting the door to one side helps create a shaded corner inside where they can curl up away from the hottest part of the light.
It also gives them better privacy and lets them feel more secure. Dogs love spaces where they can peek out without being fully exposed. With an offset door, they can still watch the yard but retreat fully into the shade when they want. You are giving them the choice between alert and hidden without needing to build anything complicated. It is a tiny design tweak that feels like a luxury feature once it is in use.
8. A lightweight flap keeps the bugs out without blocking airflow.
Once your dog starts using the space regularly, you are going to realize how many insects want to use it too. Flies, ants, and wasps all love the mix of shade and scent. Adding a basic vinyl flap or soft weather strip across the doorway helps keep those pests out while still letting air pass through. Dogs get used to it quickly, and it adds a layer of protection without turning the house into a stuffy box.
This does not need to be expensive. A strip of clear vinyl or heavy canvas attached with small screws or Velcro works just fine. Make sure it hangs low enough to block the entrance but light enough that your dog can push through easily. Once it is installed, you will notice fewer bugs, less dirt, and a more stable internal temperature during the day. It is a cheap upgrade that makes a big difference.
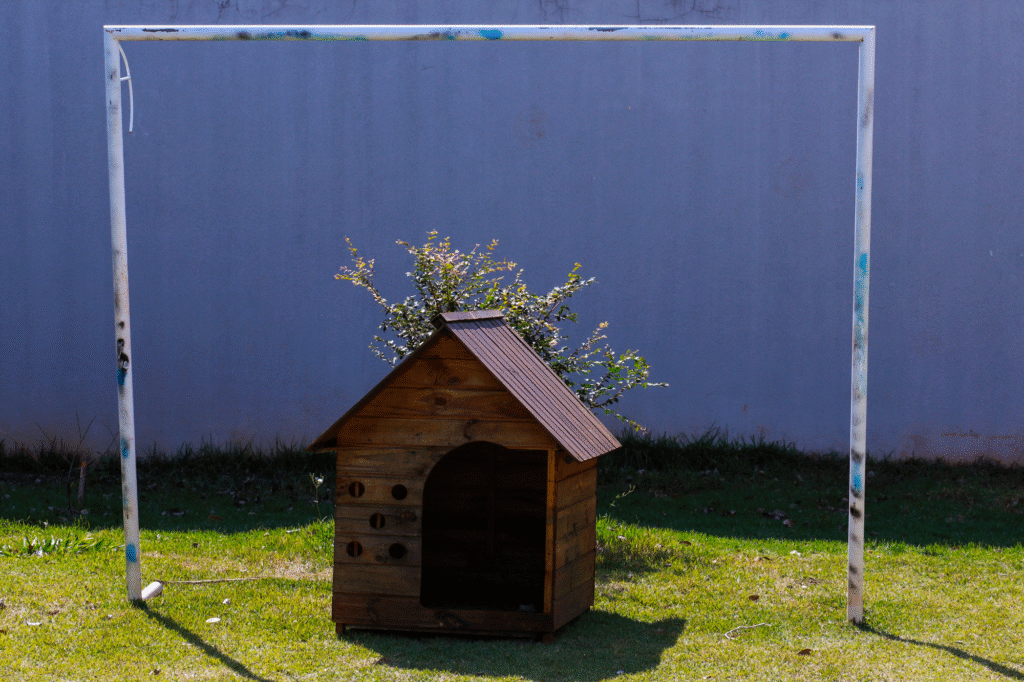
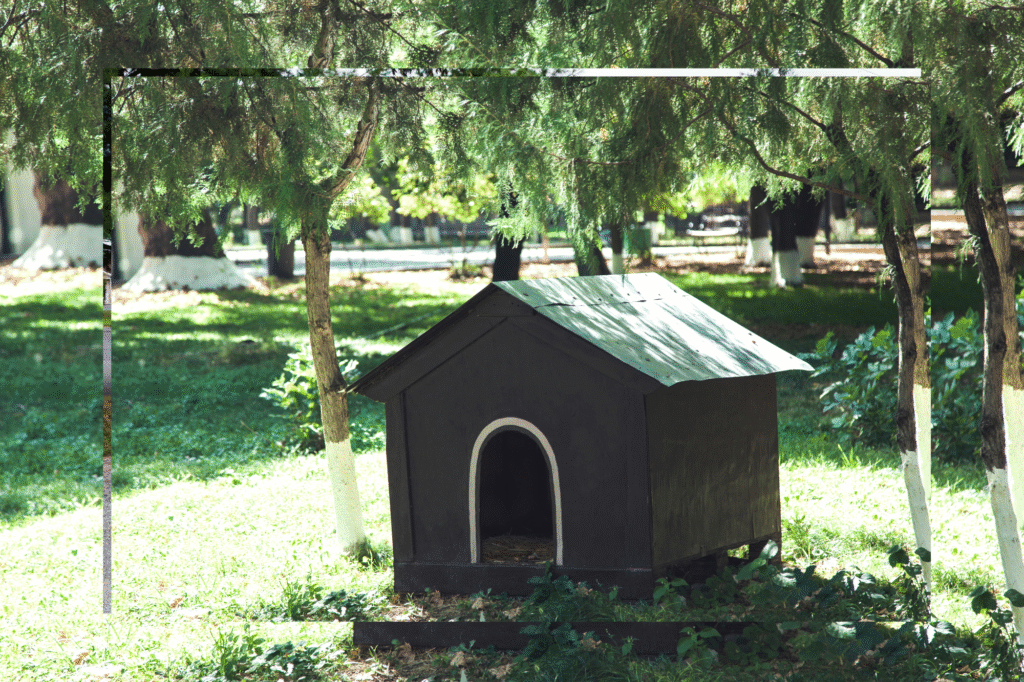
9. Use reflective paint or sealant so the outside stays cool to the touch.
Dark colors absorb sunlight. Light colors bounce it off. It really is that simple. If you paint your dog house black or dark green, you are turning it into a solar oven. A basic coat of white, light gray, or even pale blue will reflect more heat and keep the exterior surface cooler throughout the day. That keeps the inside cooler too, especially in direct sun.
There are also reflective sealants available at most hardware stores that go on clear and help reduce surface temperatures without changing the look. These are useful if you want a natural wood finish but still want to avoid cooking the structure under peak sunlight. Paint and sealant might seem cosmetic, but they work as a first line of defense against overheating. Your dog might not notice the color, but they will definitely notice the difference in temperature.
10. Do not forget a water bowl area that stays shaded all day.
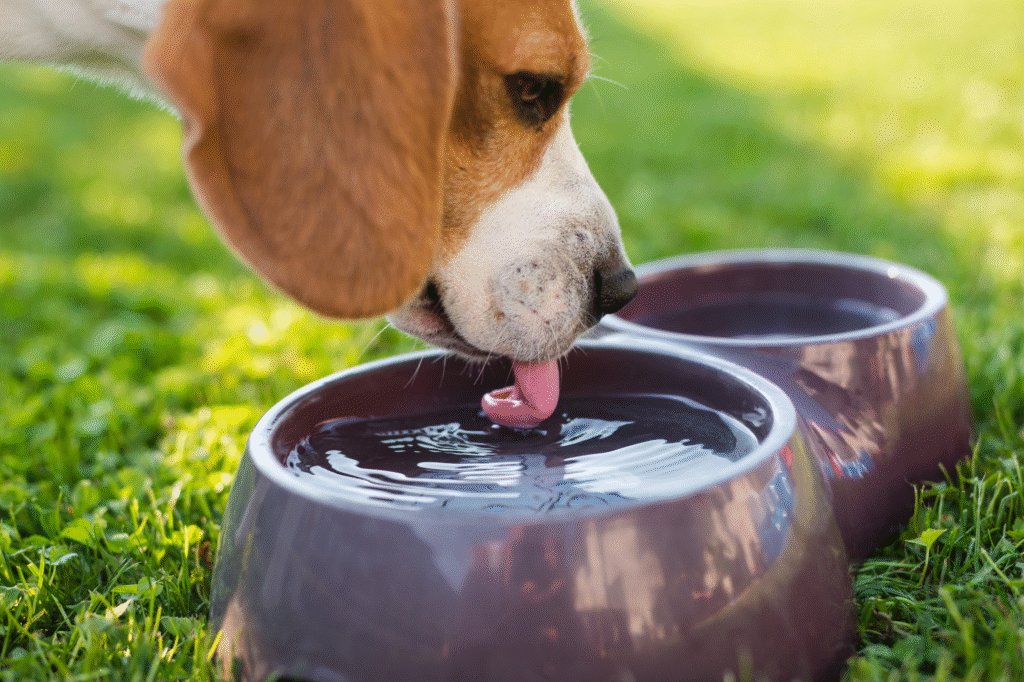
You can build the best dog house on the block, but if your dog has to walk ten feet into the sun to drink water, they are still overheating. Set up a dedicated water station next to or partially under the house so the bowl stays in the shade. You can even build a little corner cutout or raised platform just for it, keeping it off the ground where ants like to swarm.
Water warms up fast in metal bowls or plastic that sits in the sun. Try using ceramic or stoneware instead, which holds cool temperatures longer. Some people go even further and install a small gravity waterer or insulated cooler setup, but even a simple shaded dish makes a huge difference. Just make sure the bowl is refilled often and cleaned regularly. No shelter works if dehydration cancels it out.
11. Secure it with stakes or weight so summer storms do not undo your work.
All that effort means nothing if the first gust of wind lifts your dog house and sends it rolling. Lightweight materials are easier to work with, but they can become a problem if the structure is not anchored. You do not need a concrete slab, but you do need to keep it grounded. That can mean using tent stakes, ground anchors, or heavy blocks inside the base.
Make sure the weight is distributed evenly. If one side is lighter or tilted, wind can get underneath and flip the whole thing. It also helps to place the house near a wall or fence that naturally blocks wind without cutting off all airflow. Once secured, the house stays usable year round without turning into a kite. If your area gets sudden summer storms, this is not optional. It is what turns a finished project into a permanent part of your yard.
12. Add a simple nameplate or marker so your dog knows it is theirs.
This step is not just for looks. Dogs are territorial. When they see their name or smell something familiar on a structure, they are more likely to adopt it as their own. Adding a small name sign, a toy hook, or a blanket from inside the house helps them transition into using the space regularly. It sends a message that this space was made for them, not just dumped in the yard.
Use something weatherproof and secure it well. This little final detail makes the space feel intentional. It also helps you commit to maintaining it. Once it looks like it belongs to your dog, you will be more likely to keep it clean, check for damage, and refresh it each season. A simple marker changes it from a box to a home.